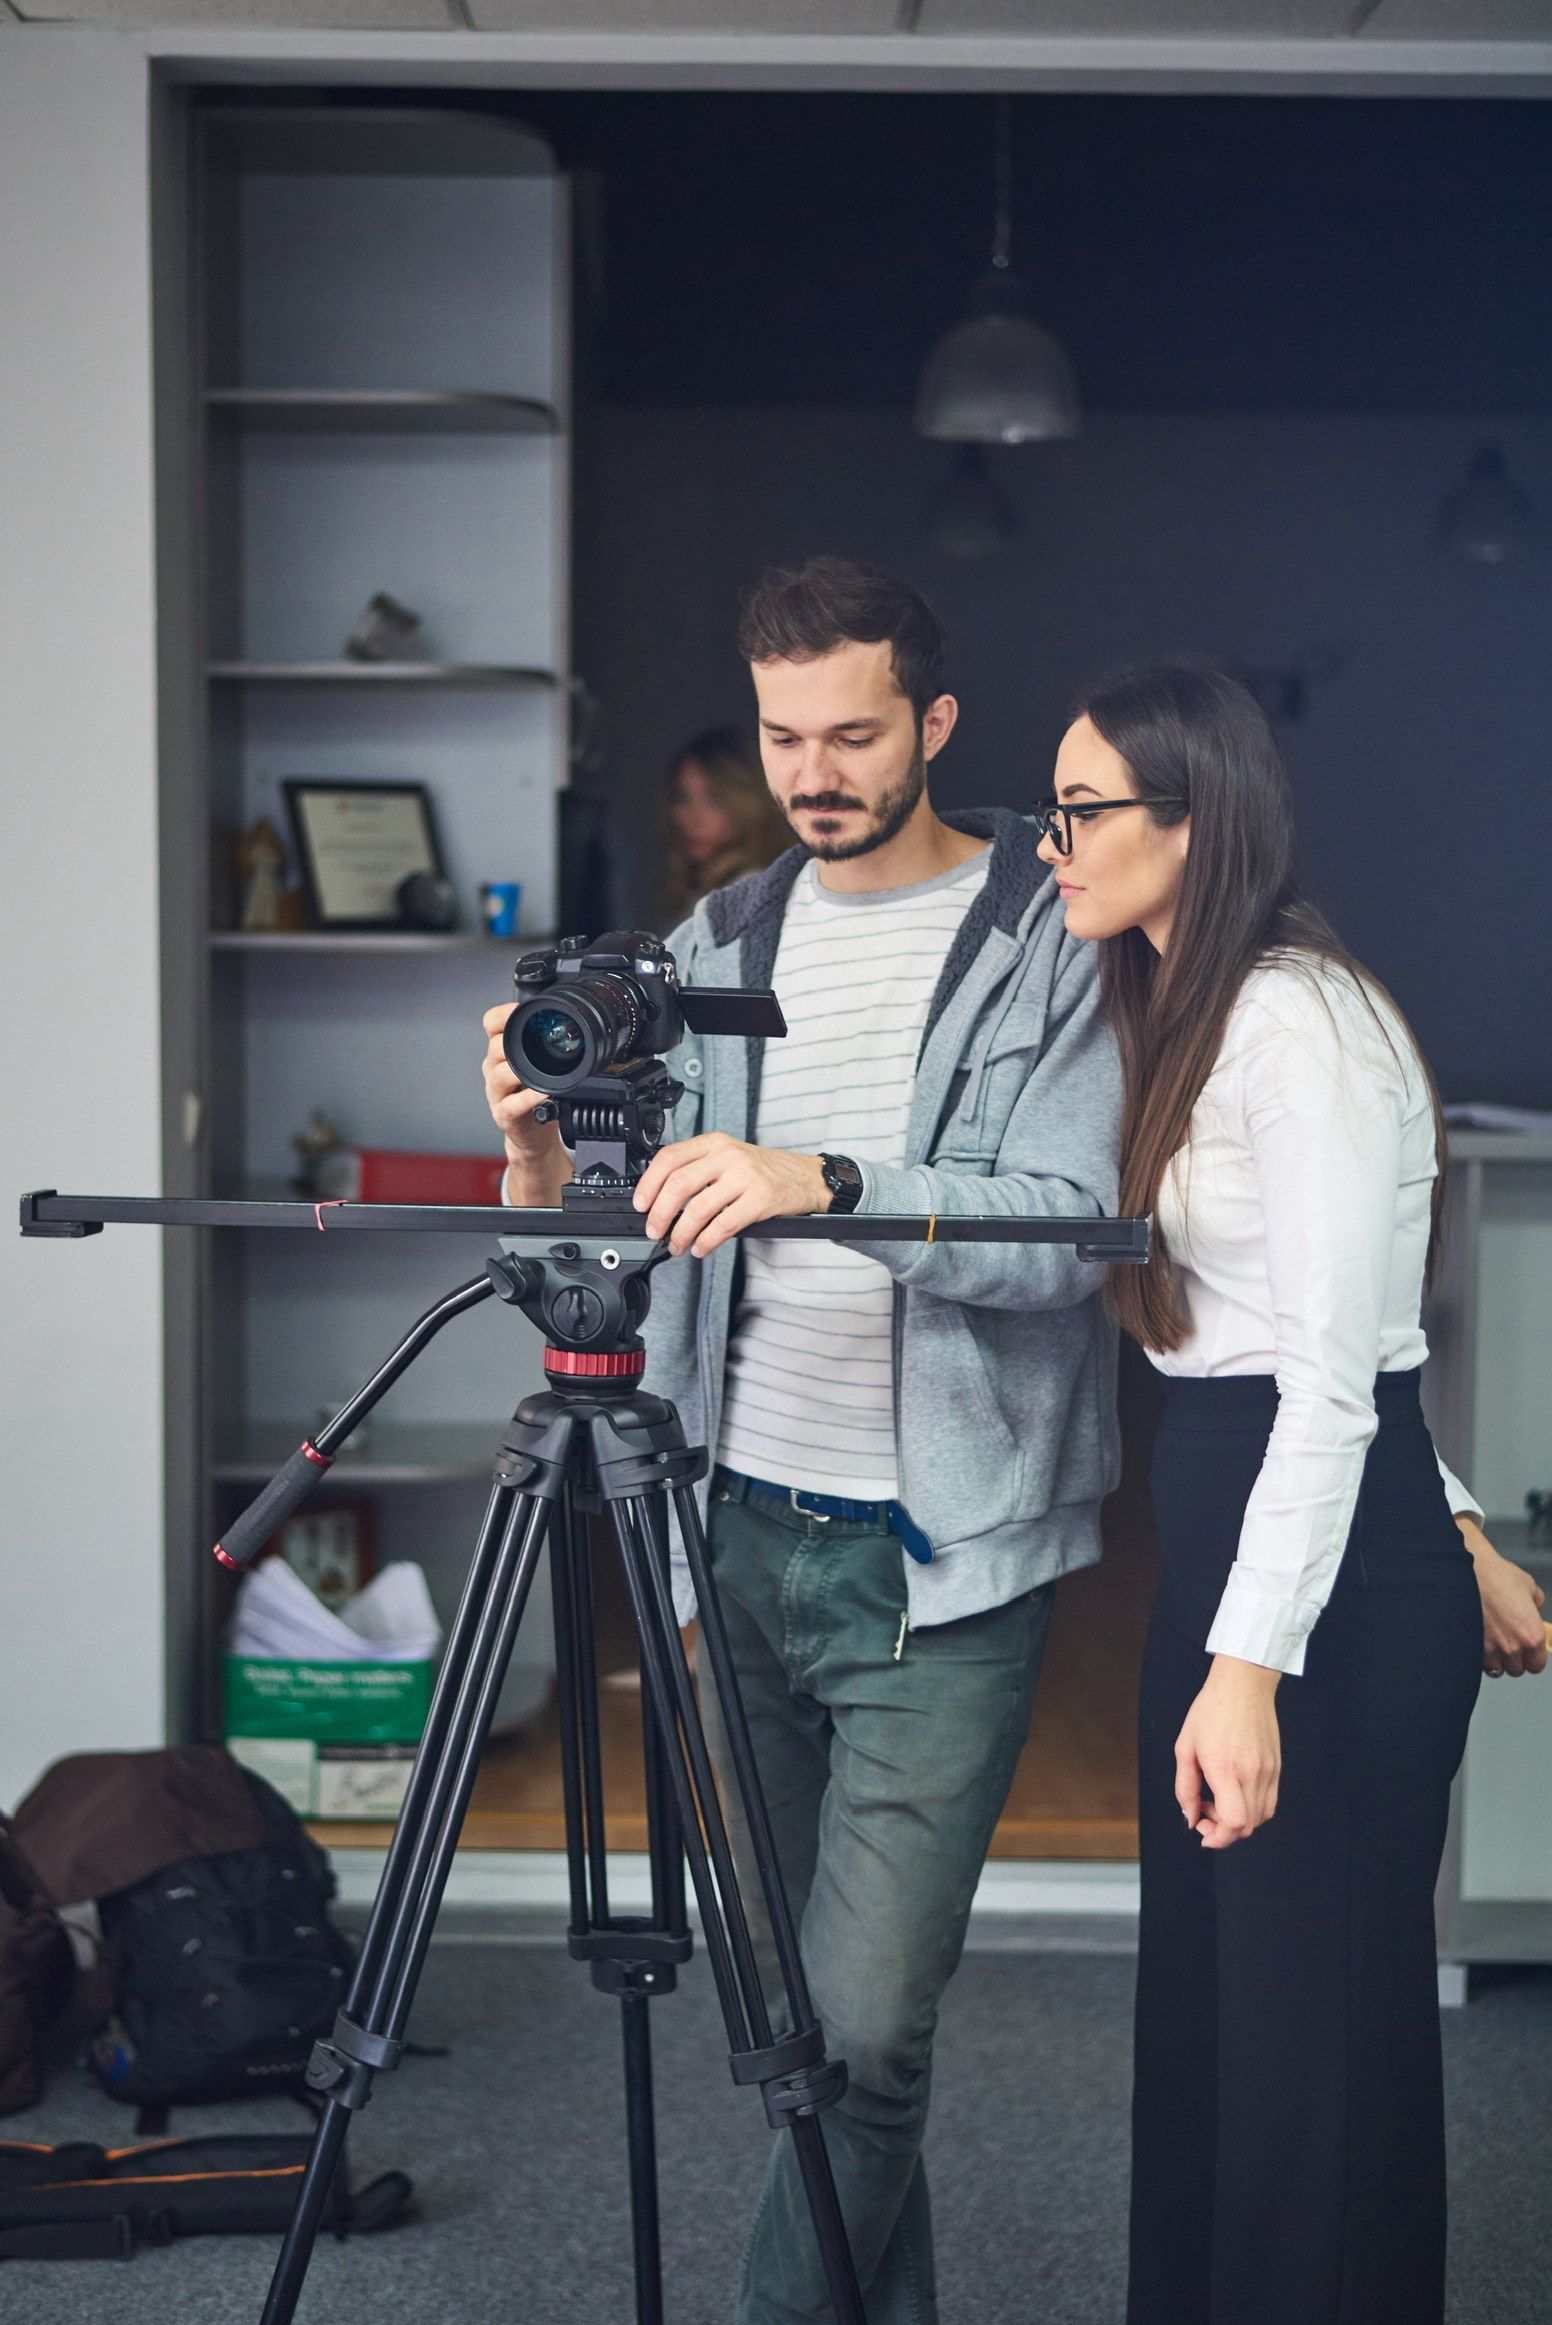
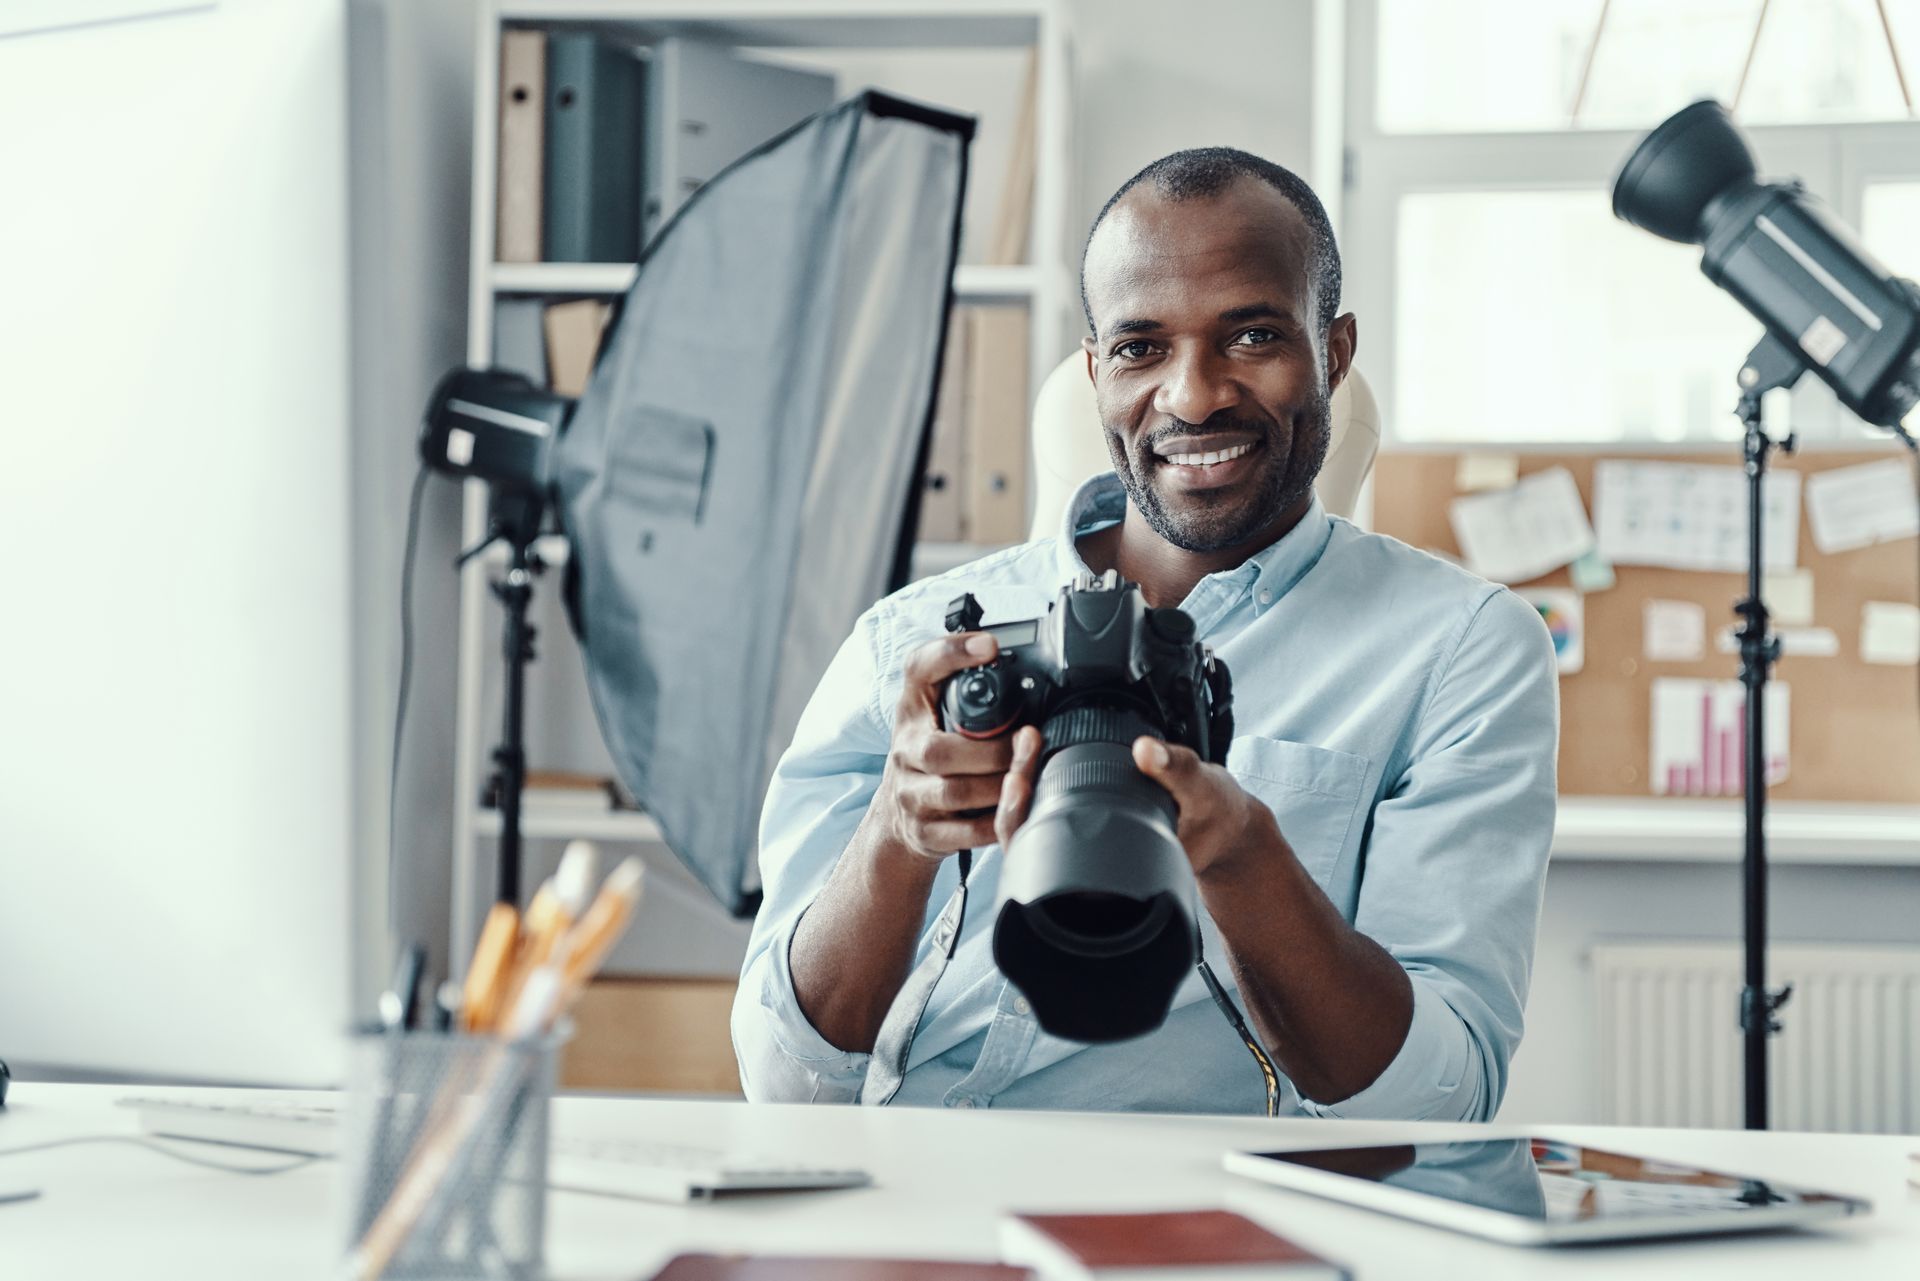
In freelance photography and videography, we often jump from one gig to another, representing different studios, agencies, or brands. But there’s a truth that often gets overlooked in the shuffle: when you accept a job on behalf of someone else’s company, you become their brand in that moment. And how you show up matters.
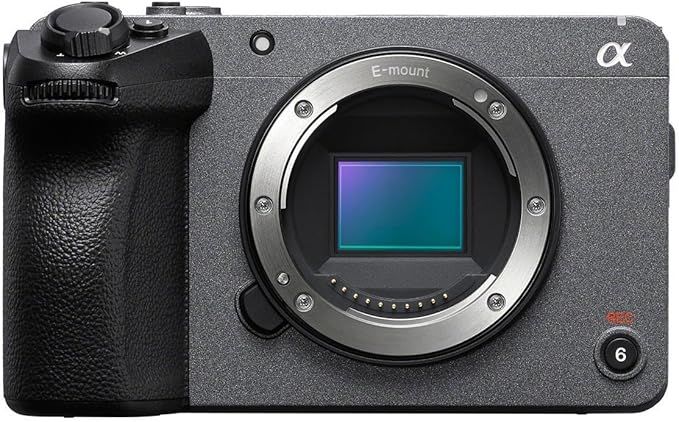
If you're a filmmaker, content creator, or wedding videographer looking for professional video quality without breaking the bank, the Sony FX30 in 2025 still stands as one of the best budget cinema cameras on the market. Whether you’re just starting or expanding your gear arsenal, the FX30 offers unmatched value in its class. In this post, we’ll break down the key features, performance, and why the Sony FX30 is still relevant in 2025, especially for indie filmmakers, YouTubers, and creative professionals.
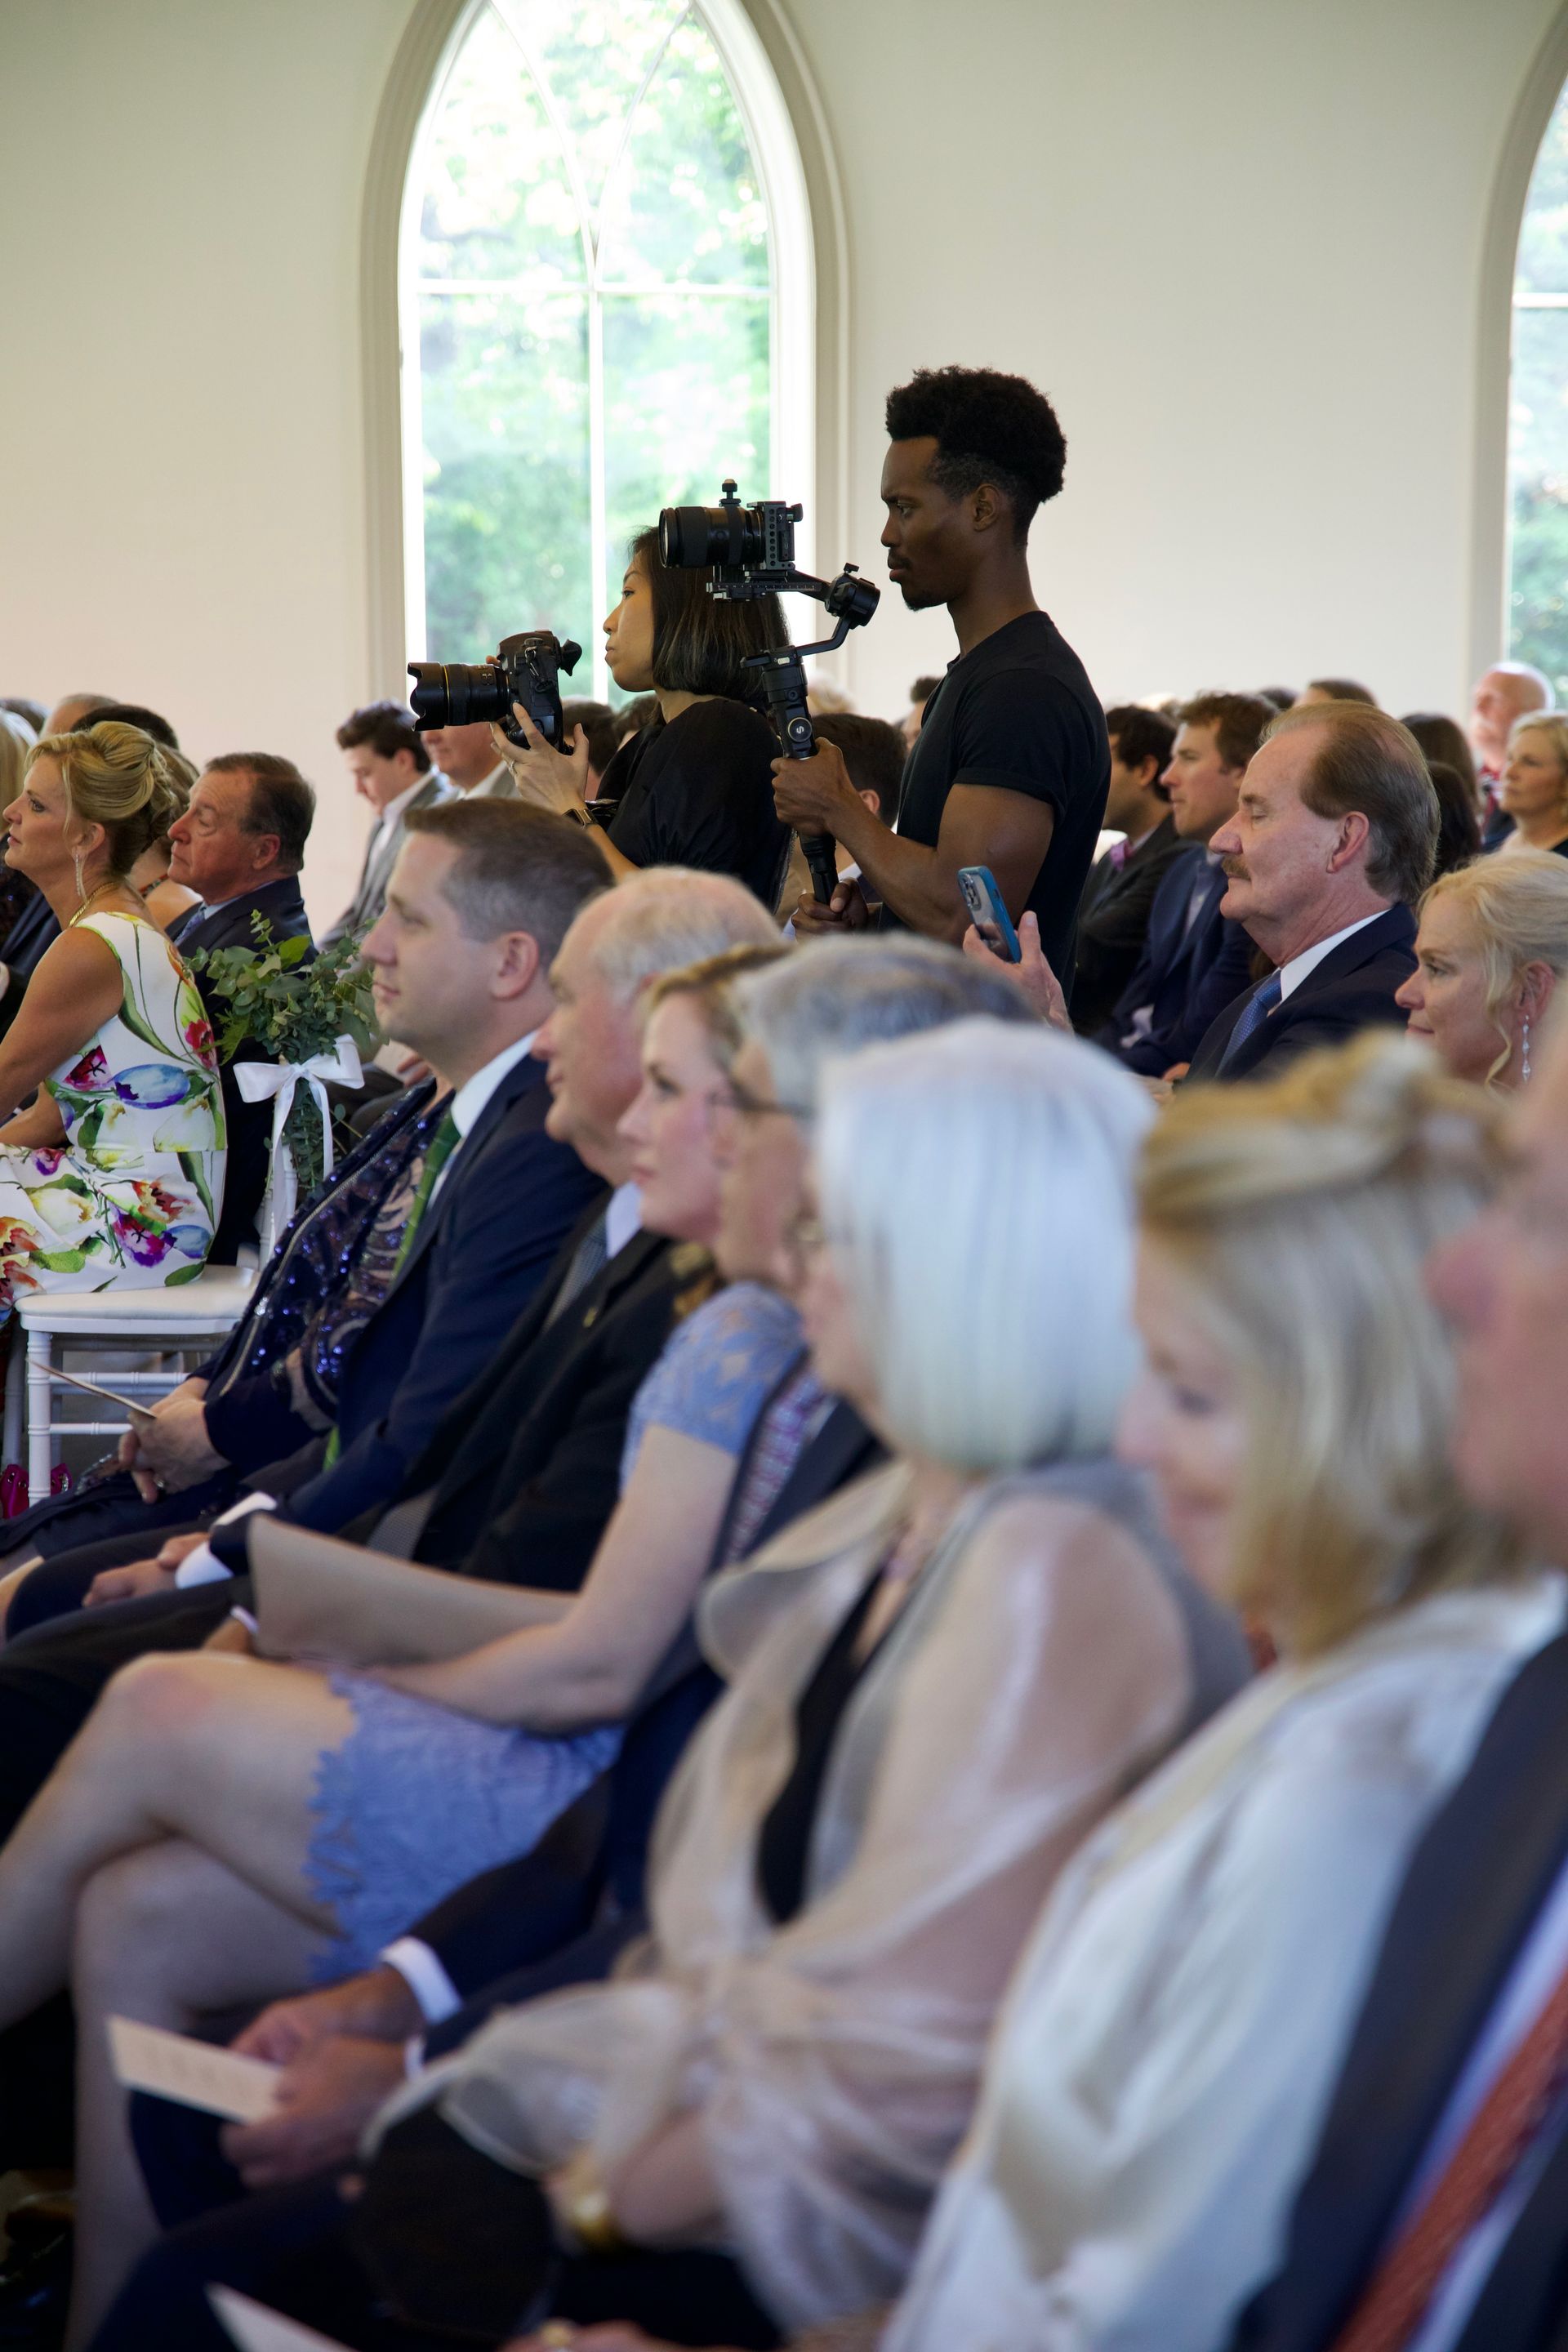
I’ve been filming weddings full-time since 2021. I’ve worked with countless couples, dozens of vendors, and been contracted by multiple wedding companies across the map. And no matter how many magical moments I capture, there’s one recurring challenge that never seems to go away: Photographers who don’t want to be team players. Now, before you get defensive—this isn’t about all photographers. I’ve worked with some incredible ones who understand we’re both there to serve the same purpose: tell a beautiful love story. But every now and then, I find myself caught in a weird, unnecessary turf war. And let me tell you, it’s exhausting.
Imagine you’re a master chef, known for your exquisite Italian cuisine. You’ve spent years perfecting your pasta, sourcing the best olive oils, and mastering the art of slow-cooked sauces. People come from far and wide to taste your food because they know exactly what to expect: excellence.
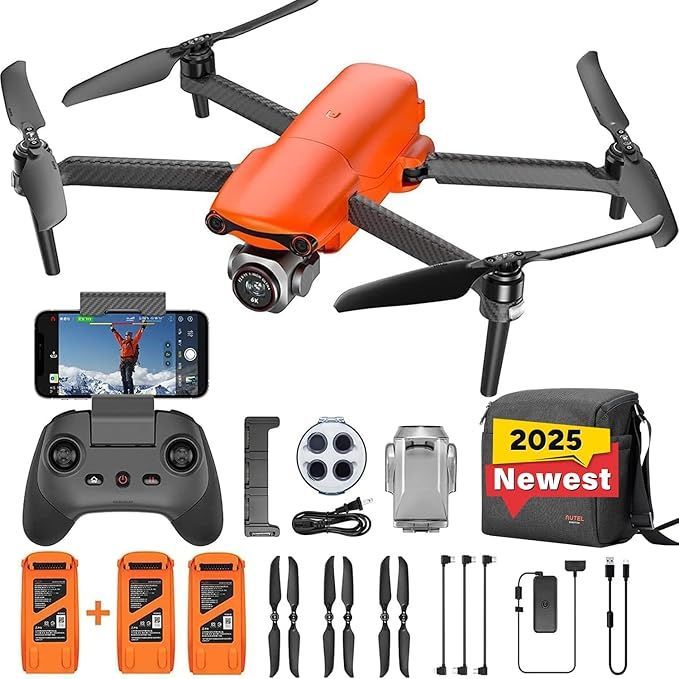
Capturing destination weddings is all about showcasing the location, atmosphere, and emotion. Drones give wedding photographers and filmmakers a unique angle — quite literally — by highlighting scenic venues from the sky. Whether it's a cliffside in Santorini, a beach in Bali, or a vineyard in Tuscany, aerial footage turns ordinary moments into cinematic masterpieces.
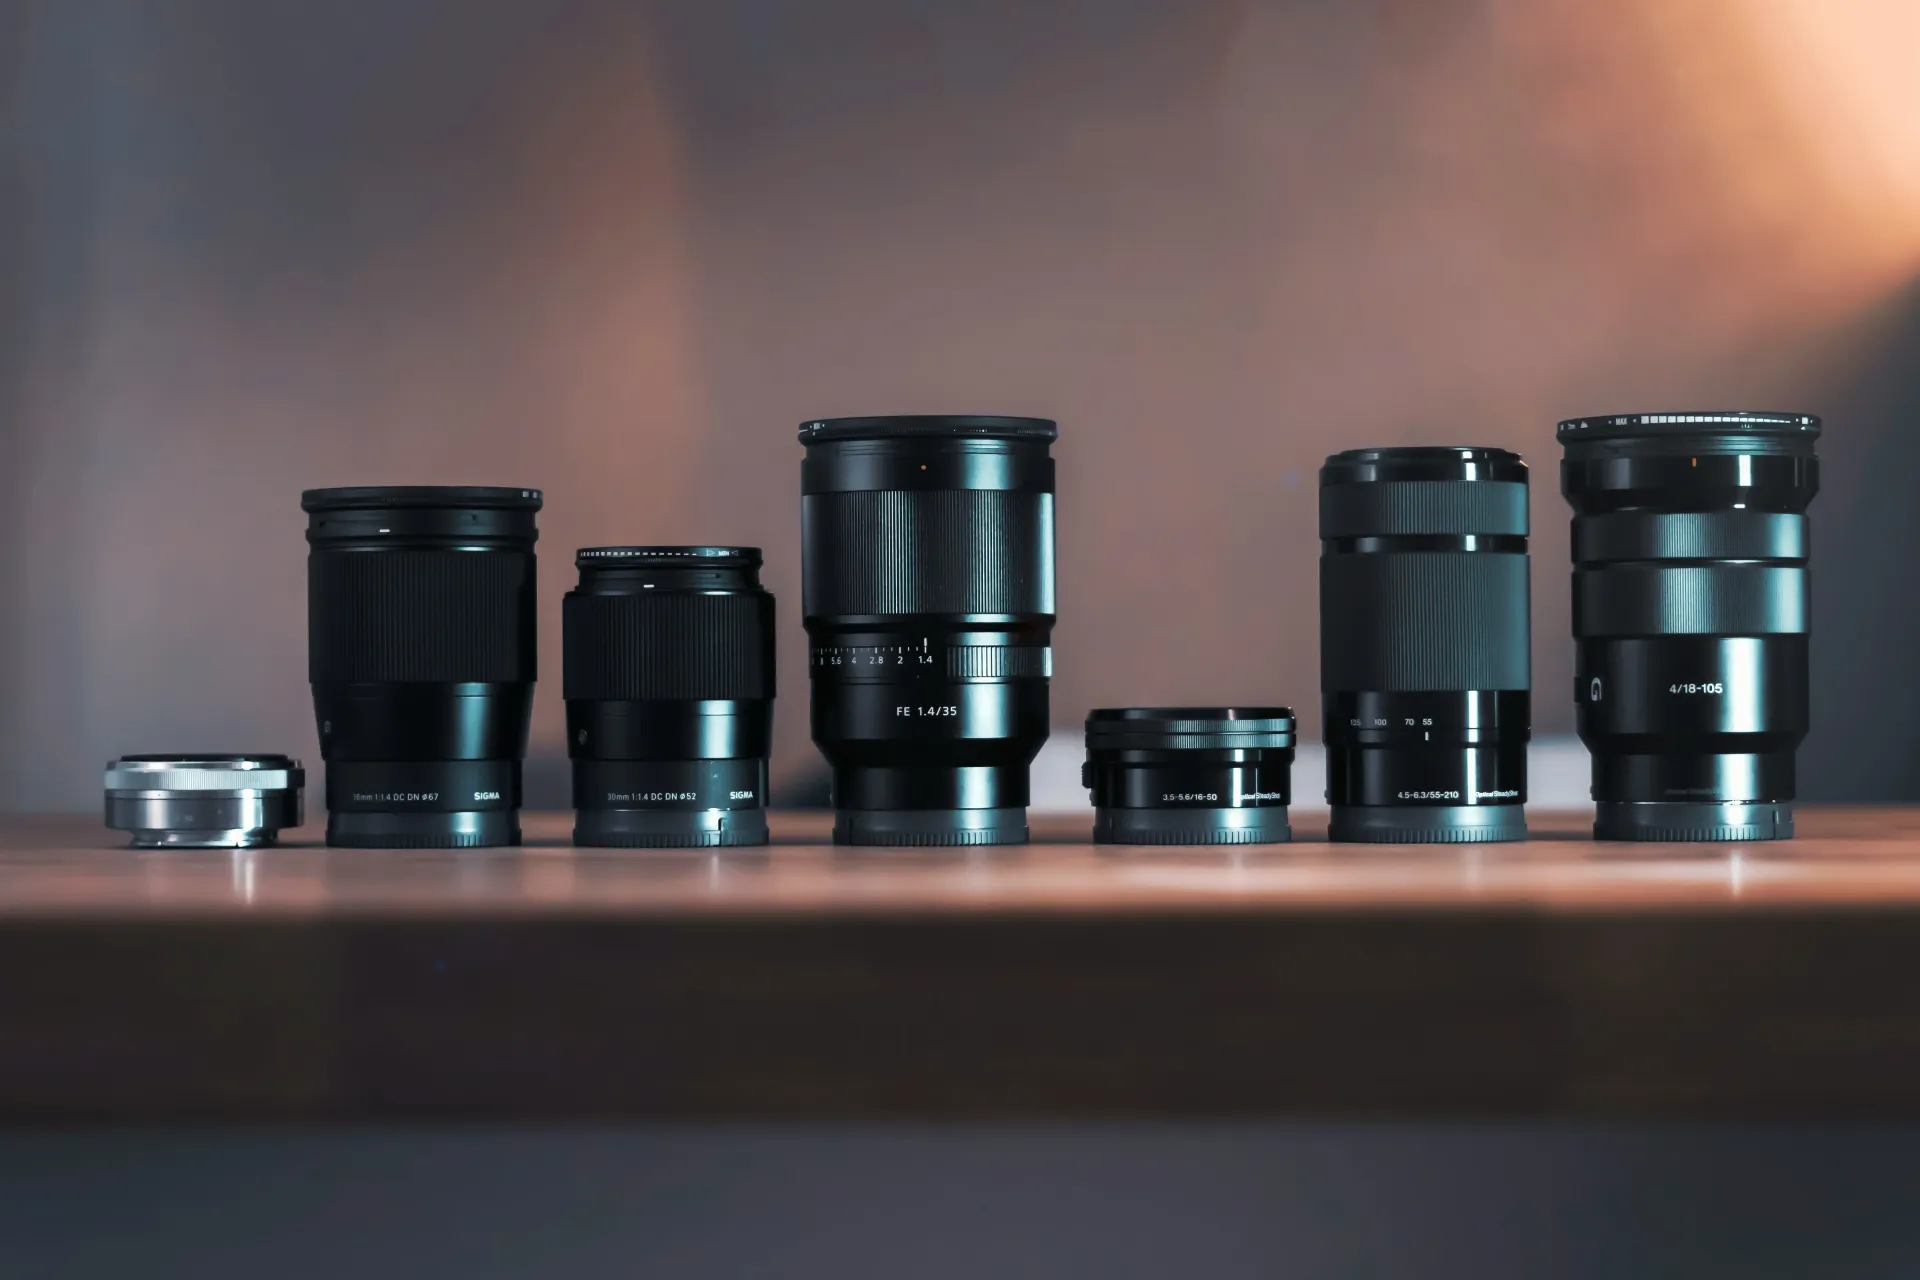
When it comes to wedding photography, your lens choice can make or break the shot. Whether you're capturing the intimate exchange of vows or the lively reception dance floor, having the right lens on your Sony camera is essential. Sony’s mirrorless cameras—like the A7IV, A7R series, and the A9 or A1—offer incredible image quality, and pairing them with the right glass takes your wedding photography to the next level. Here are some of the best Sony and third-party lenses to consider for wedding photography, broken down by use case:
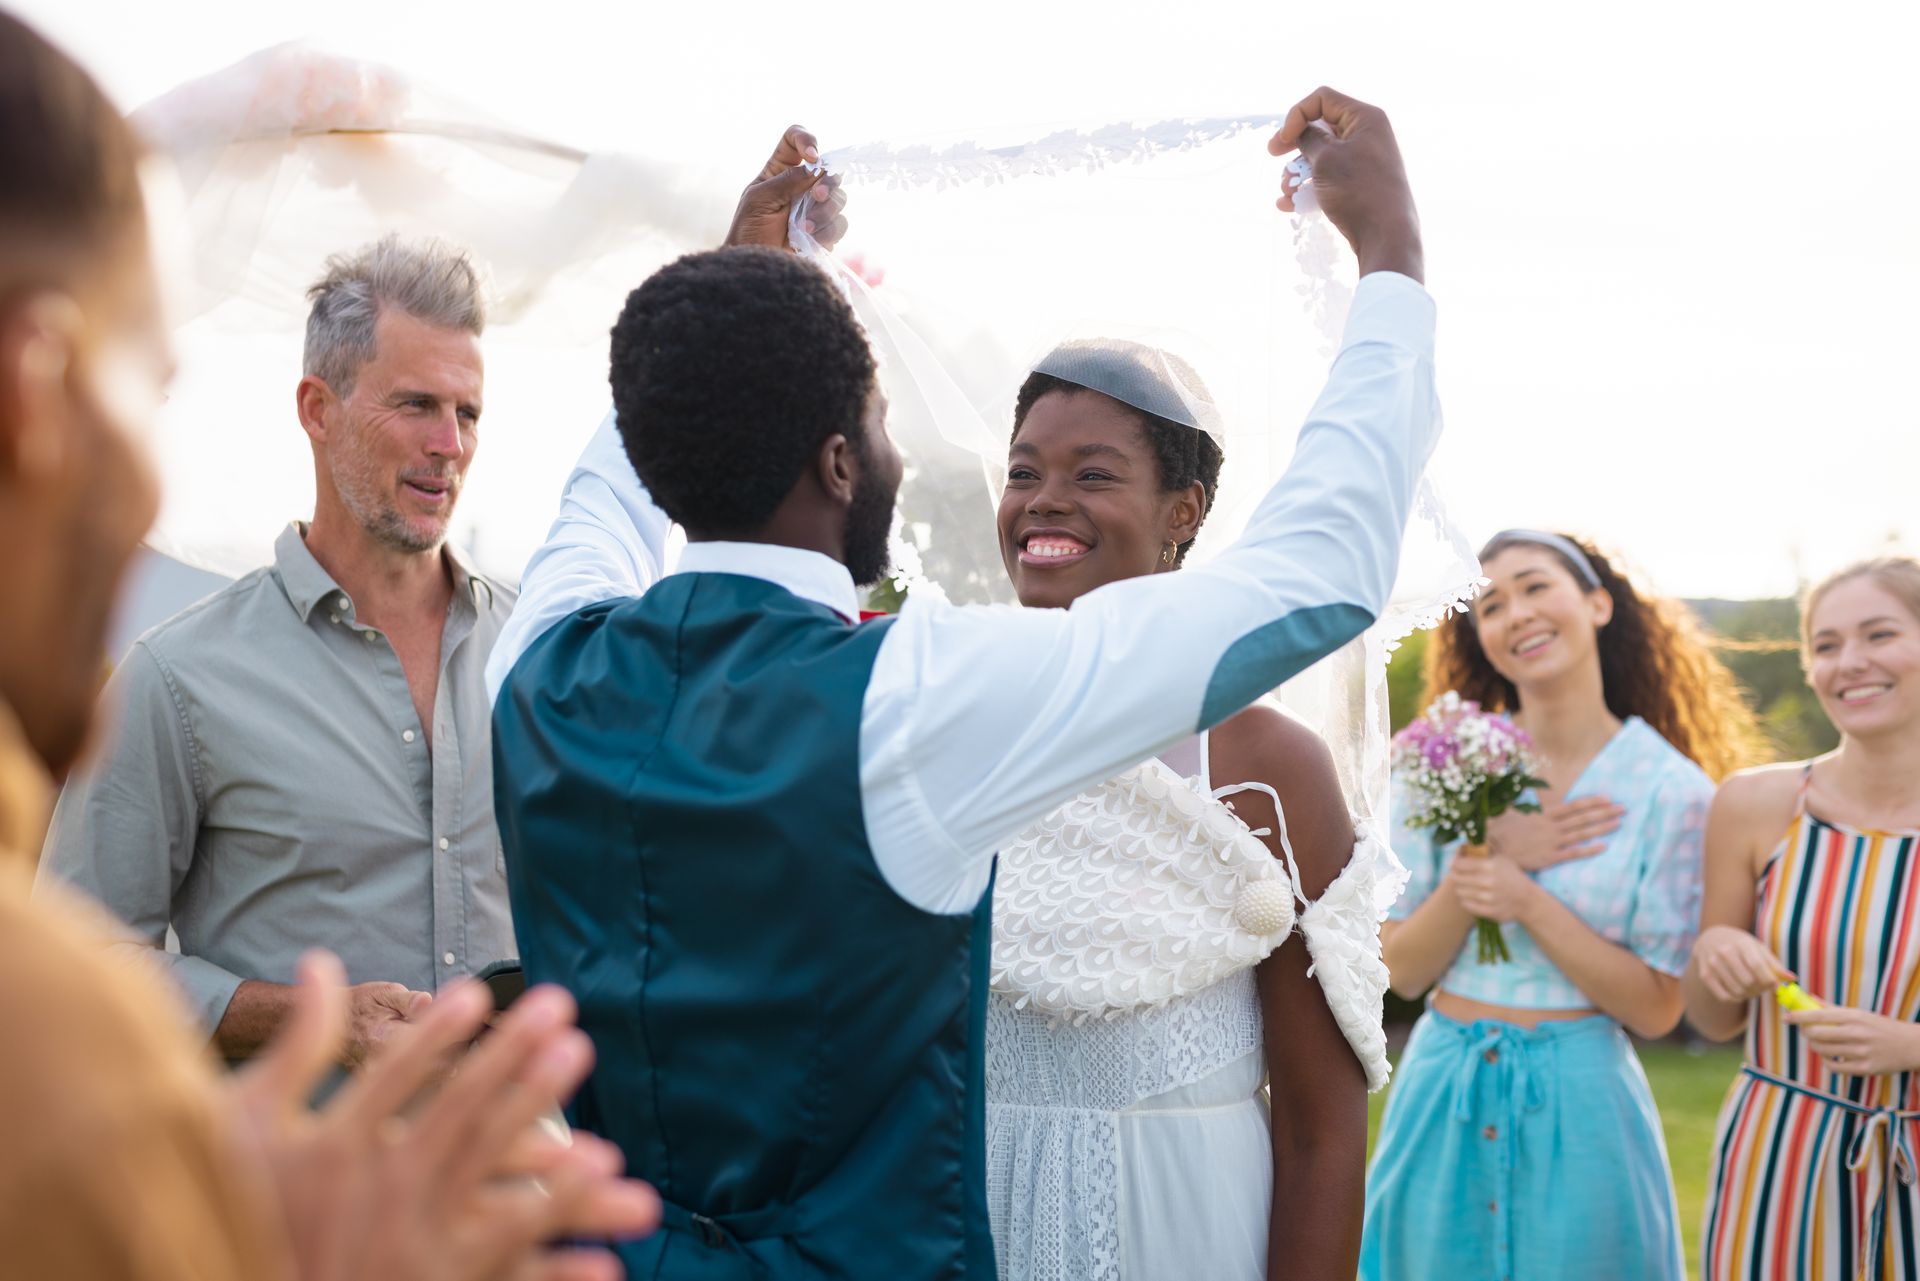
Your wedding day is one of the most important moments of your life, and capturing it on film ensures that you can relive the magic for years to come. With so many types of wedding videos available, it can be overwhelming to choose the perfect style for your celebration. Whether you're looking for something cinematic, documentary-style, or personalized, there's a wedding video format to fit your unique style. Here’s a breakdown of the most popular types of wedding videos to help you decide which one is right for you.
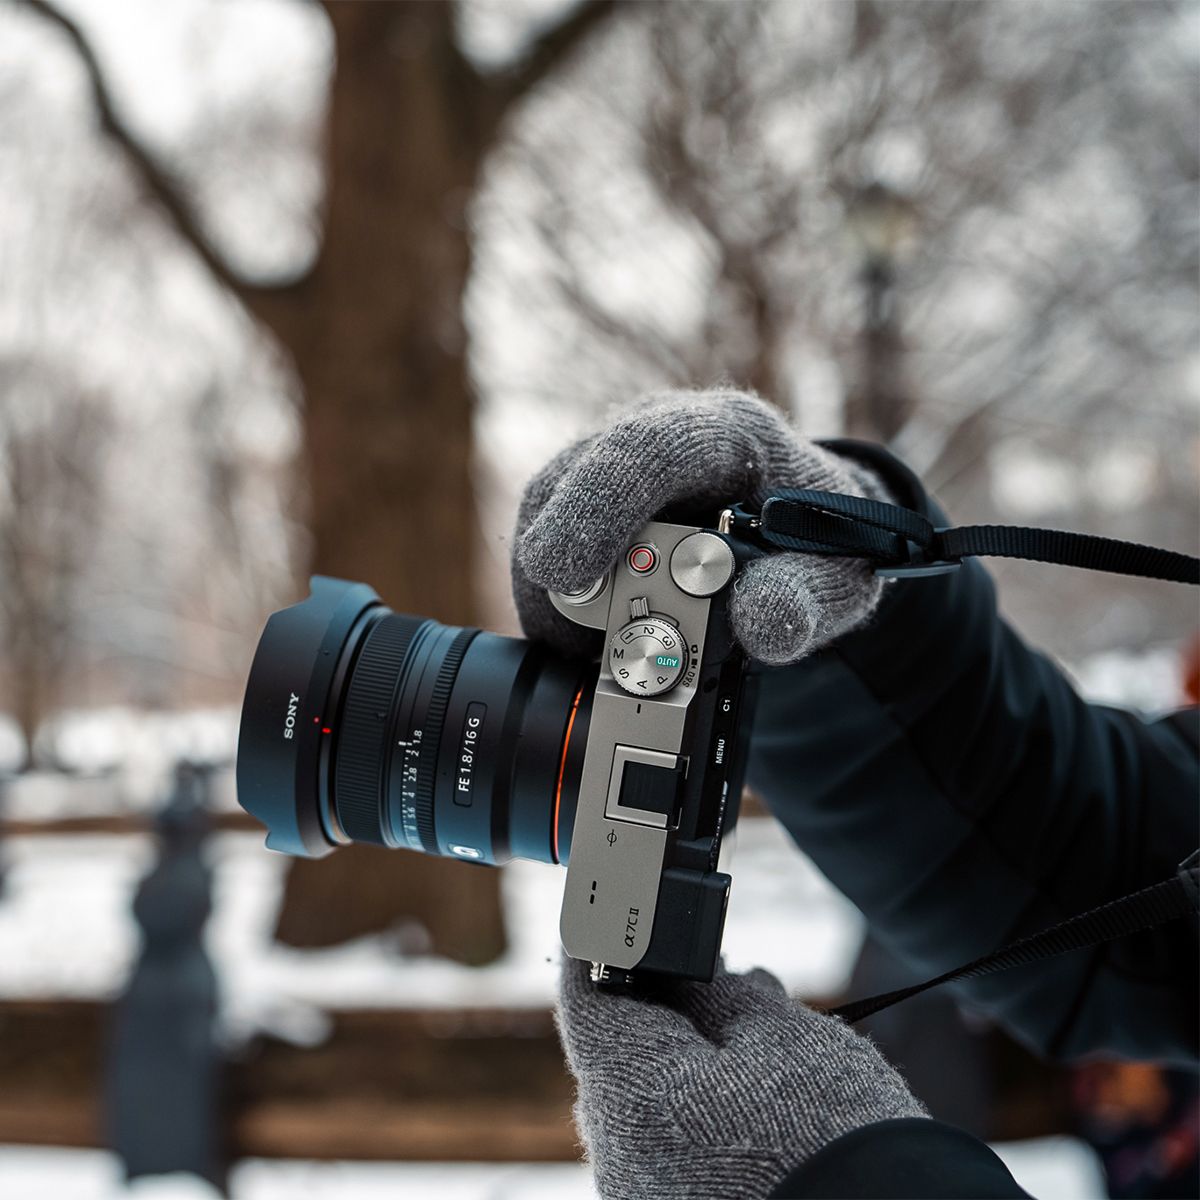
Sony has consistently delivered high-quality lenses for its mirrorless camera lineup, and the Sony FE 16mm f/1.8 G is no exception. Designed for photographers and videographers who demand ultra-wide perspectives with excellent optical quality, this compact prime lens offers impressive features in a lightweight package. Whether you're capturing landscapes, astrophotography, architecture, or vlogging, the FE 16mm f/1.8 G aims to deliver professional-grade results.
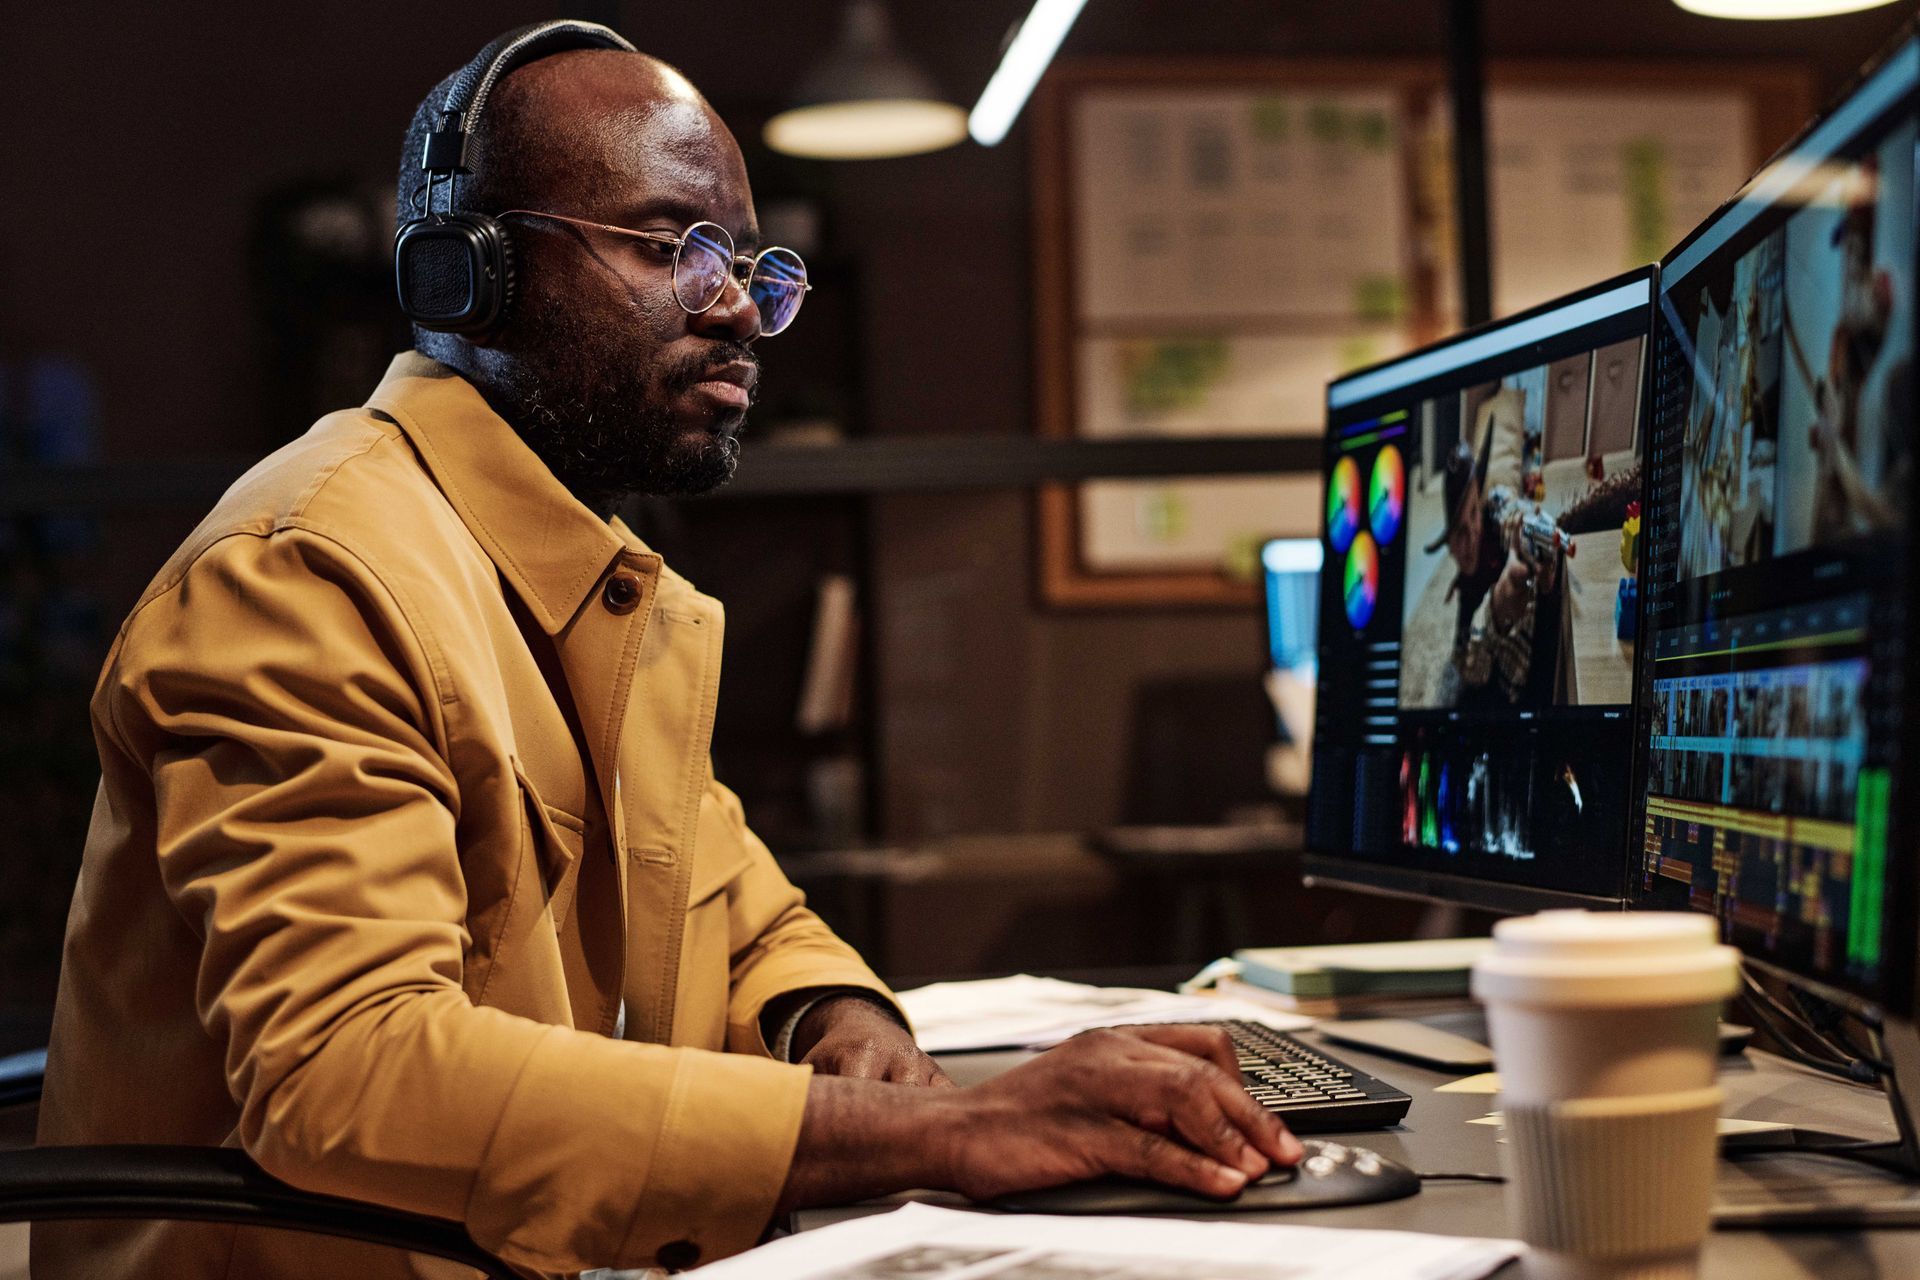
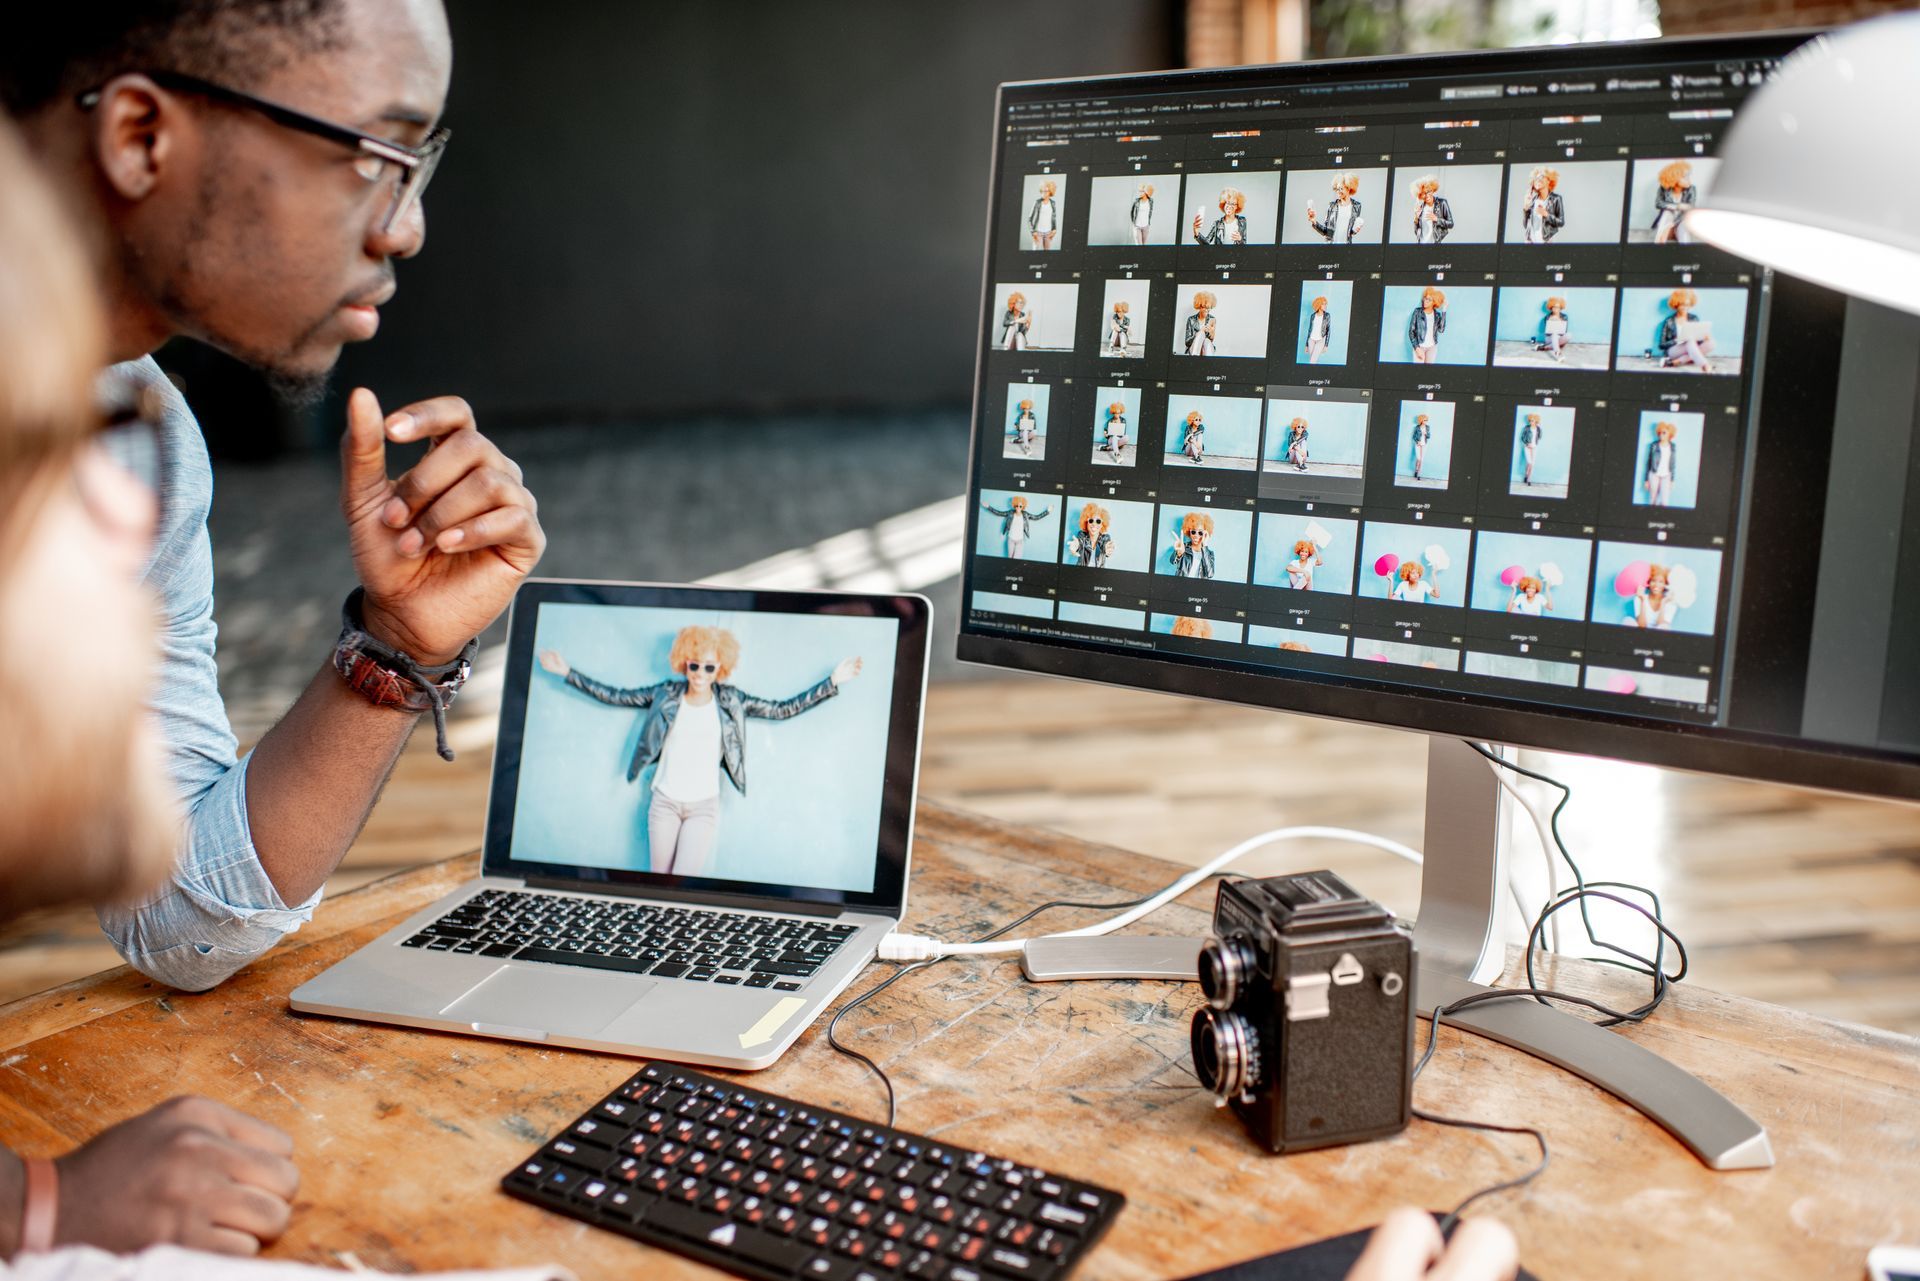
Professional video editing software is a must-have for videographers aiming to create high-quality, polished content. The right software can significantly enhance your workflow and production value. In this blog, we’ll explore the top professional video editing tools in 2025, focusing on their features, advantages, and drawbacks.

Starting a photography business is an exciting venture, but to attract more clients and build trust, you need to ensure your business is legitimate. Potential customers are more likely to book you when they see professionalism, credibility, and legal backing behind your brand. Here’s a step-by-step guide to legitimizing your photography business and securing more bookings.
